Automated testing of your changes is one of the most important things you can do before shipping code. Unit tests and linters catch syntax-level issues, but they can’t tell you whether your login flow actually works, whether your CLI renders correctly after a refactor, or whether a new API endpoint returns the right data. The QA skill fills that gap: it tests your application the way a real user would and produces a structured report with visual evidence.
Factory ships two built-in skills that work together:
/install-qa — A one-time setup skill that analyzes your codebase, asks targeted questions, and generates a complete QA skill tailored to your project./qa — The generated skill that runs on every PR. It reads the git diff, identifies affected apps, and executes only the relevant test flows.
The install-qa process is thorough and interactive. It performs deep codebase analysis, runs a multi-phase
questionnaire, and generates multiple files. Expect it to take some time and to prompt you with questions —
quality assurance is foundational, and we take the time to get it right.
Quick start
The skill walks through three phases:
- Deep codebase analysis — Detects apps, tech stack, auth, environments, feature flags, integrations, CI/CD, and existing tests.
- Interactive questionnaire — Asks about what it couldn’t auto-detect (QA target, user personas, critical flows, cleanup strategy).
- Skill generation — Produces an orchestrator, per-app sub-skills, config, report template, and optionally a GitHub Actions workflow.
After setup, invoke QA at any time with /qa or let it run automatically on PRs via the generated workflow.
What gets generated
.factory/skills/qa/
  SKILL.md                  # Orchestrator: reads diff, routes to relevant sub-skills
  config.yaml               # All env/auth/integration config (single source of truth)
  REPORT-TEMPLATE.md        # Standardized report template

.factory/skills/qa-<app-name>/
  SKILL.md                  # One sub-skill per testable app (e.g., qa-web, qa-cli)
config.yaml is auto-generated by /install-qa based on codebase analysis and your questionnaire answers. Once generated, you can edit it like any other checked-in file. Example:
project: MyProject
environments:
  development:
    url: https://dev.example.com
  production:
    url: https://example.com
    restrictions: [read-only only, never create data]
default_target: development
auth:
  method: email-password
  provider: WorkOS
personas:
  - name: admin
    test_focus: [settings, user-management, billing]
  - name: viewer
    test_focus: [dashboards, reports]
    cannot_do: [edit-settings, manage-users]
apps:
  web:
    path_patterns: ["apps/web/**"]
    skill: qa-web
    test_tool: agent-browser
  cli:
    path_patterns: ["apps/cli/**"]
    skill: qa-cli
    test_tool: tuistory
failure_learning: suggest_in_report
How QA runs
- Load config — Reads
config.yaml for environments, personas, and app definitions.
- Analyze the diff — Maps changed files to apps using
path_patterns.
- Scope the test run — Only runs sub-skills for affected apps. CLI-only changes skip web tests entirely.
- Execute test flows — Runs relevant flows plus generates targeted tests based on the specific diff.
- Capture evidence — Screenshots (web), terminal snapshots (CLI), or API response data.
- Generate report — Structured report with pass/fail/blocked results, posted as a PR comment.
Web apps: agent-browser
Drives a real browser — navigates pages, fills forms, clicks buttons, captures accessibility tree snapshots and screenshots.
agent-browser open https://dev.example.com/login
agent-browser snapshot -i          # Discover interactive elements
agent-browser fill @e1 "user@example.com"
agent-browser fill @e2 "password123"
agent-browser click @e3
agent-browser screenshot result.png
CLI/TUI apps: tuistory
Launches the app in a virtual terminal, sends keystrokes, and captures the terminal state as text snapshots and PNG screenshots.
tuistory launch "./my-cli" -s qa-test --cols 110 --rows 36
tuistory -s qa-test wait-idle --timeout 8000
tuistory -s qa-test snapshot --trim           # Text snapshot (inline in PR comment)
tuistory -s qa-test type "/help"
tuistory -s qa-test press enter
tuistory -s qa-test screenshot --format png -o /tmp/help.png  # Visual evidence
API testing
For backend services without a UI, QA uses standard curl commands to test endpoints and validate responses.
CI integration
If your project has a .github/ directory, install-qa will offer to generate a GitHub Actions workflow that:
- Triggers on pull requests (and after preview deployments if using Vercel/Netlify)
- Installs tools (tuistory, ImageMagick) and runs
droid exec with the QA skill
- Uploads evidence as build artifacts and posts a QA report as a PR comment
- Can be configured as a required or optional check
The generated workflow needs GitHub secrets for credentials referenced in config.yaml. The install-qa
skill will list exactly which secrets to add.
Failure learning
When QA encounters new failure patterns, it can feed that knowledge back:
| Strategy | Behavior |
|---|
| Suggest in report (default) | Includes copy-paste snippets in the report for manual review. |
| Auto-commit | Automatically commits updates to sub-skill files after each run. |
| Open a PR | Opens a draft PR with failure catalog updates. |
Real-world examples
CLI app (Go TUI) — glow
A PR updating help text and flag descriptions in a terminal markdown renderer. QA built the Go binary and tested it with tuistory:
| # | Test Case | Result | Notes |
|---|
| 1 | Help text shows updated description | :white_check_mark: PASS | --help includes new text |
| 2 | Line-numbers flag description updated | :white_check_mark: PASS | Shows “rendered output” instead of “TUI-mode only” |
| 3 | CLI renders markdown correctly | :white_check_mark: PASS | Headers, lists, code blocks render |
| 4 | Width flag wraps at specified column | :white_check_mark: PASS | -w 40 wraps correctly |
| 5 | Stdin pipe rendering | :white_check_mark: PASS | Piped markdown renders |
| 6 | Error on nonexistent file | :white_check_mark: PASS | Exits code 1 with clear message |
| 7 | TUI browser launch | :no_entry: BLOCKED | CI PTY environment inconsistent |
$ ./glow --help
  Render markdown on the CLI, with pizzazz!
  Now with improved word wrapping and line number support.
| # | Test Case | Result | Notes |
|---|
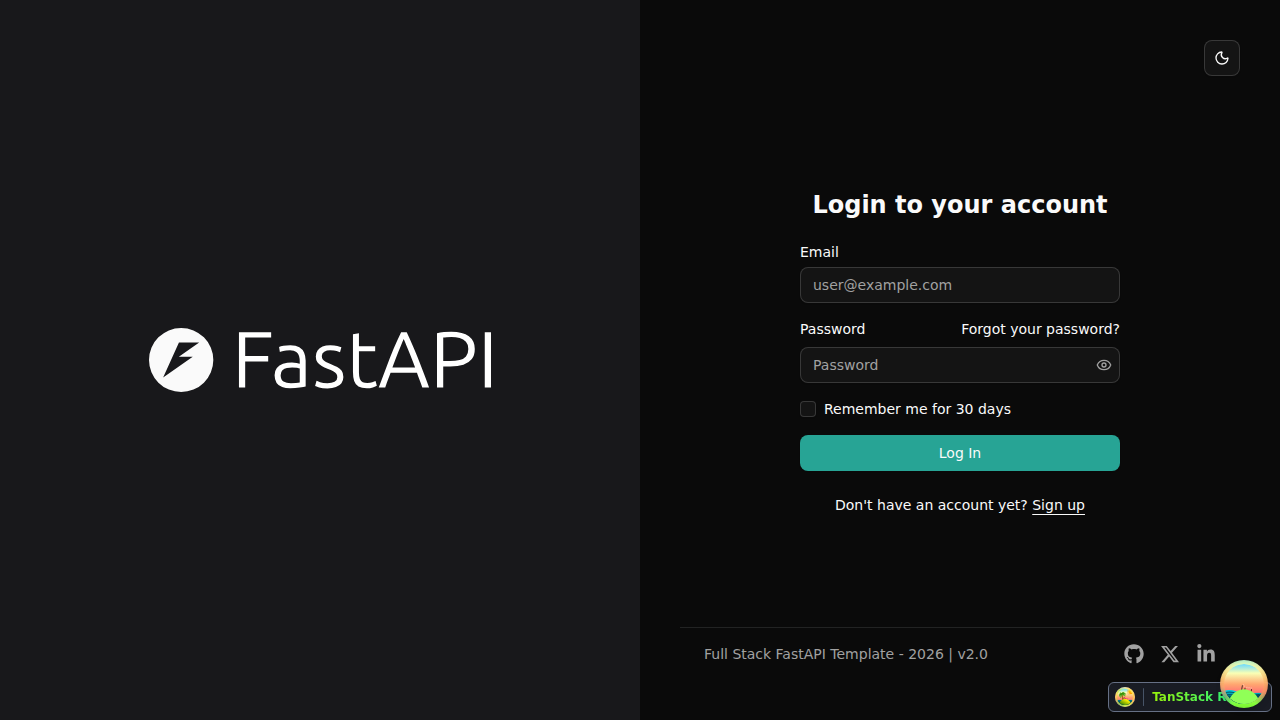
| 1 | Login page shows Remember Me checkbox | :white_check_mark: PASS | Form has Email, Password, checkbox, Log In button |
| 2 | Login with Remember Me checked | :white_check_mark: PASS | Redirected to dashboard |
| 3 | Login without Remember Me | :white_check_mark: PASS | Also works unchecked |
| 4 | Invalid credentials (negative test) | :white_check_mark: PASS | Toast error, stays on login |
| 5 | Footer shows v2.0 | :white_check_mark: PASS | Version badge visible on all pages |
Tips
- Be detailed during the questionnaire. The quality of the generated QA skill is directly proportional to the detail you provide. Describe user roles, critical flows, auth mechanics, and edge cases thoroughly. The more context install-qa has, the more targeted the generated test flows will be.
- Describe success criteria clearly. Don’t just say “login works.” Say “user enters email and password, clicks Sign In, gets redirected to /dashboard, and sees a welcome message.” Specificity produces test flows that verify the right thing.
- Mention known quirks. If your login form renders differently in certain locales, if a checkout takes 15 seconds, or if your dev server needs a specific start command — say so. These become Known Failure Modes that prevent false failures.
- Iterate after the first run. Review the report, refine sub-skill flows based on what passed, what was blocked, and what was missed.