To get the most out of remote workspaces, configure environment variables and a setup script during workspace creation. The setup script installs dependencies and prepares your development environment automatically, ensuring every team member has an identical setup.
System Requirements
- A repository enabled in Factory
- Manager role or higher to create remote workspaces
1
Open Session Settings
- In Factory, click the Settings icon from the left sidebar.
- Select Session.
- Scroll down to Remote Workspaces.
2
Create a New Remote Workspace
- Click Create Workspace.
- Enter the repository you want to use.
- Give your workspace a friendly name (e.g., “frontend-workspace”).
- (Optional) Configure a setup script to run during workspace initialization.
- Click Create.
Factory clones your repo and prepares the environment—this can take a minute for large projects.
3
Verify Workspace Ready
The new workspace appears in the list with a status indicator. Once it shows Ready, you can use it from any session.
Launching a Remote Workspace inside a Session
1
Open or Start a Session
Join any Factory session as usual.
2
Connect to Cloud Machine
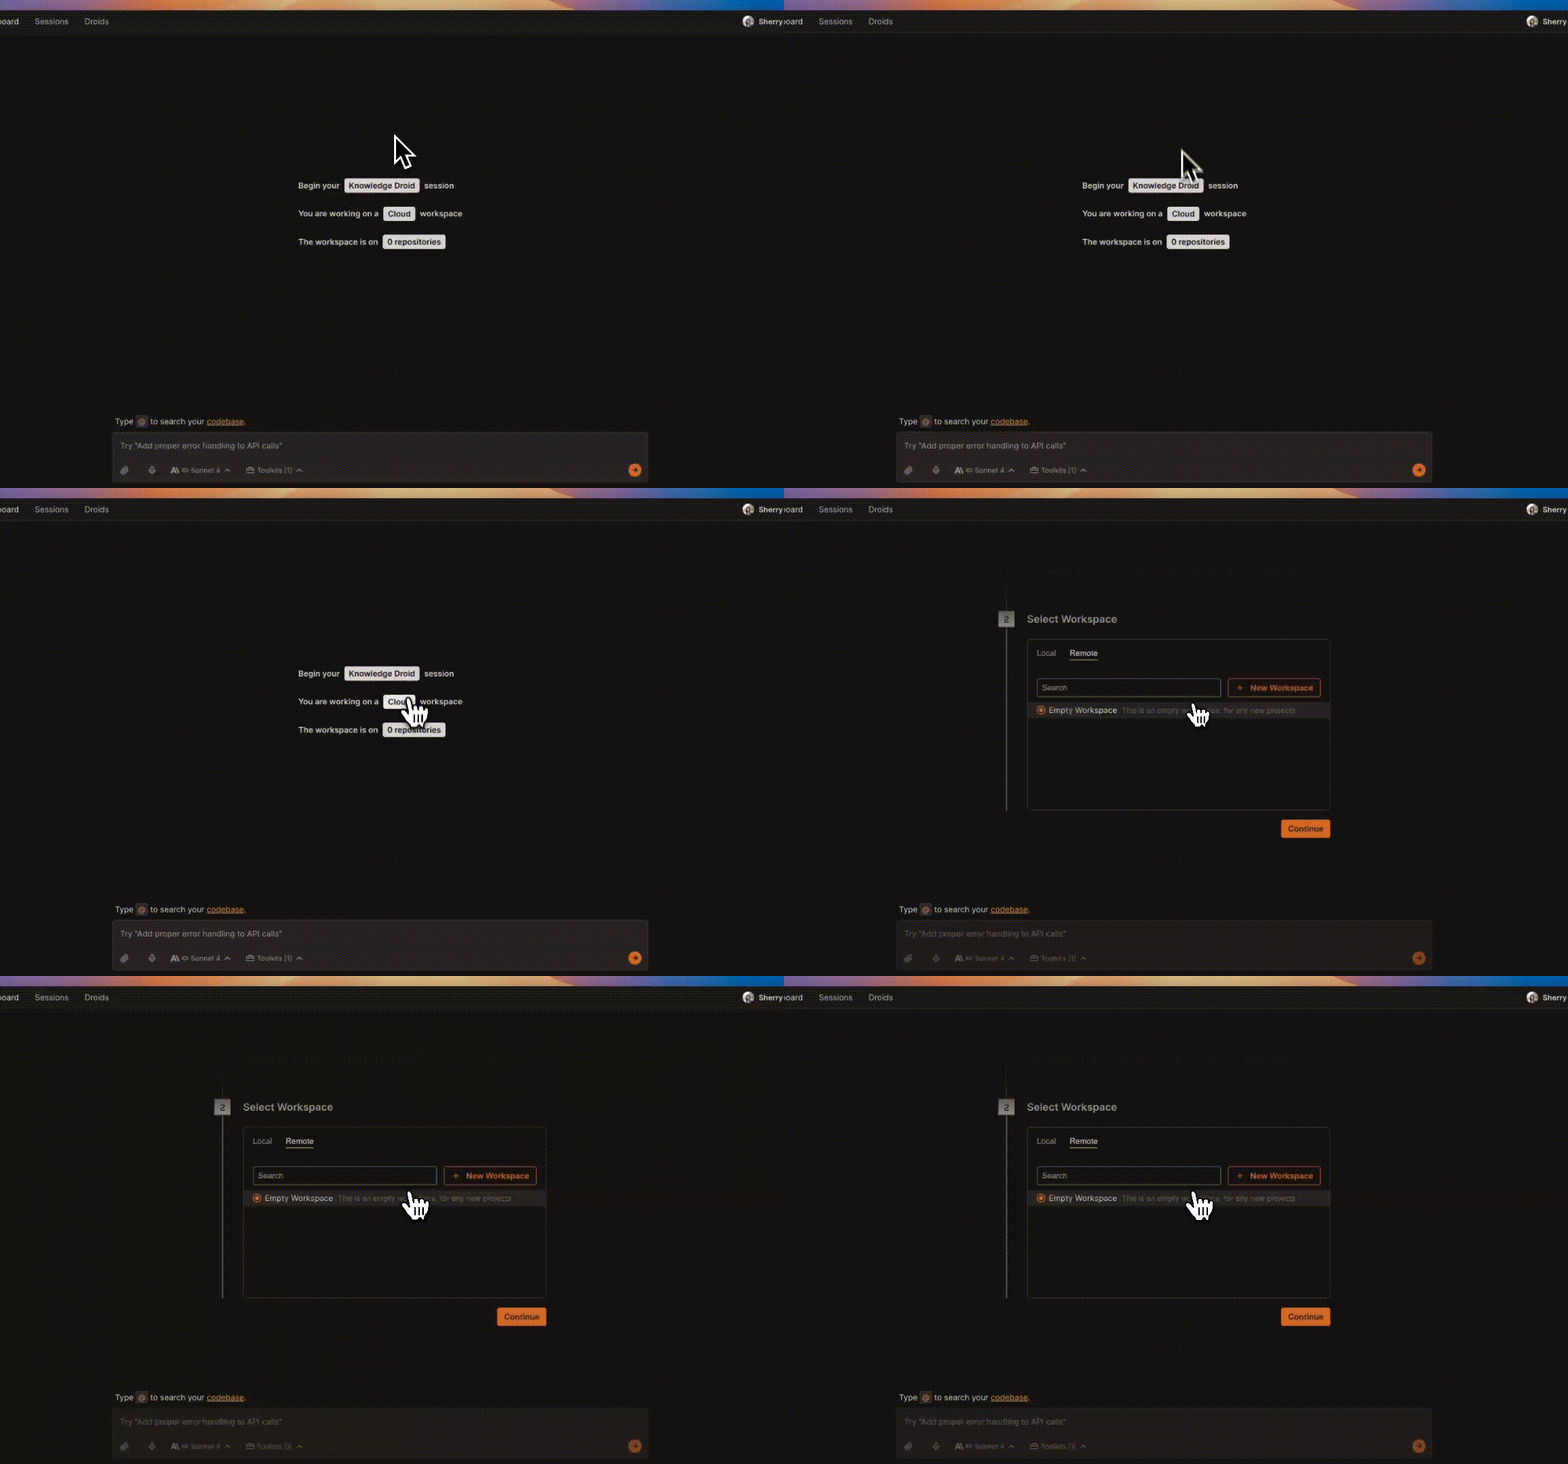
- On the session start page, click the Machine Connection button.
- Choose Remote tab.
- Select the workspace you created earlier.
- Factory attaches the remote workspace to your session.

3
Confirm Connection
A green indicator and remote working directory appear on the top-right next to your profile dropdown menu. You’re now interacting with the cloud workspace.
Everyday Usage
Run CLI Commands
Use the Terminal toolkit to execute commands like:
npm run dev
pytest
git status
Output streams live into chat and logs.
Edit & Save Files
Open files from the repo, make changes, and save.
Files persist in the remote workspace and can be committed upstream when ready.
Files persist in the remote workspace and can be committed upstream when ready.
Auto-Save Controls
Auto-save is disabled by default—enable it from the Session Settings panel whenever you want live file syncing.
Troubleshooting & Help
Can't connect from session
Can't connect from session
Ensure you:
- Selected Remote Machine (not Local).
- Refresh the page, or try again in a different session
Need More Help?
Visit the full Remote Workspace Troubleshooting Guide
