Before you begin
Make sure you have:- A terminal open in a code project
- Git repository (recommended for full workflow demonstration)
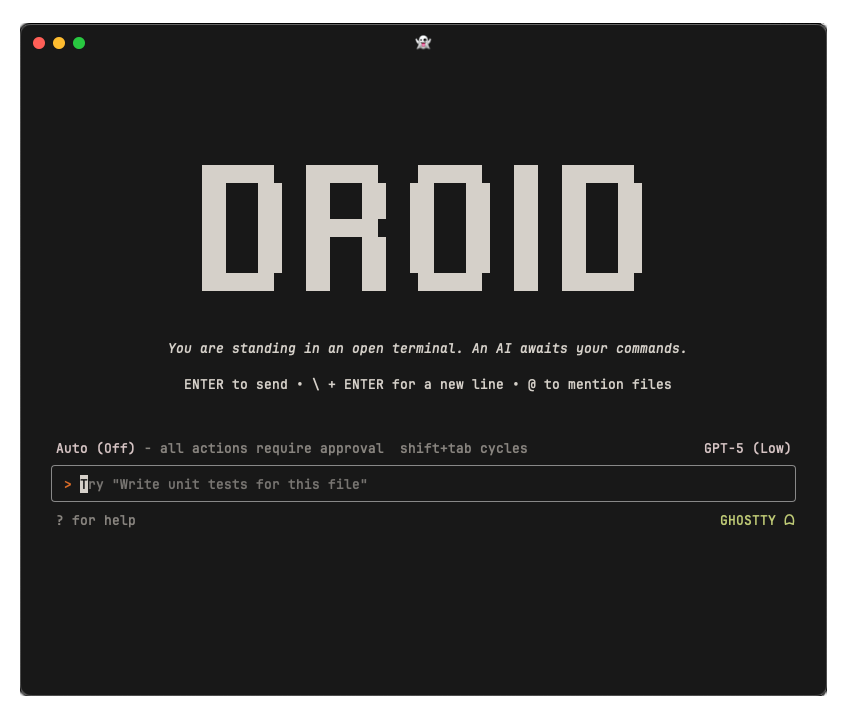
Step 1: Install and start droid
Linux users: Ensure
xdg-utils is installed for proper functionality. Install with: sudo apt-get install xdg-utils
Step 2: Explore your codebase
Let’s start by having droid understand your project. Try one of these questions:Step 3: Make your first code change
Now let’s see droid in action with a simple modification:- Analyze your current logging setup
- Propose specific changes with a clear plan
- Show you exactly what will be modified
- Wait for your approval before making changes
Step 4: Experience enterprise workflows
Try a more complex task that showcases droid’s enterprise capabilities:Step 5: Handle version control
Droid makes Git operations conversational and intelligent:Essential controls
Here are the key interactions you’ll use daily:| Action | What it does | How to use |
|---|---|---|
| Send message | Submit a task or question | Type and press Enter |
| Multi-line input | Write longer prompts | Shift+Enter for new lines |
| Approve changes | Accept proposed modifications | Accept change in the TUI |
| Reject changes | Decline proposed modifications | Reject change in the TUI |
| Switch modes | Toggle between modes | Shift+Tab |
| View shortcuts | See all available commands | Press ? |
| Exit session | Leave droid | Ctrl+C or type exit |
Useful slash commands
Quick shortcuts to common actions:/review- Start AI-powered code review workflow (learn more)/settings- Configure droid behavior, models, and preferences/model- Switch between AI models mid-session/mcp- Manage Model Context Protocol servers/account- Open your Factory account settings in browser/billing- View and manage your billing settings/help- See all available commands
Collaboration best practices
Be specific with context: Instead of: “fix the bug” Try: “fix the authentication timeout issue where users get logged out after 5 minutes instead of the configured 30 minutes” Use spec mode for complex features: For larger features, use Specification Mode which automatically provides planning before implementation without needing to explicitly request it. Leverage organizational knowledge:Pro tips for enterprise teams
Security-first approach: Droid automatically considers security implications and will flag potential vulnerabilities during code generation. Compliance integration: Connect your compliance tools through MCP to ensure all changes meet your organization’s standards. Team knowledge sharing: Droid learns from your organization’s patterns and can help maintain consistency across team members and projects.What’s next?
Common Use Cases
Explore real-world scenarios and workflows
Configuration
Customize droid for your team’s workflow
AGENTS.md Guide
Document your project conventions and commands
IDE Integration
Use droid within your favorite editor
